
Reliable Kenmore Appliance Service Within One Day
Quick services of common appliance brands and models. Home and commercial service.
Is your Kenmore fridge not cooling? Has it lost all function? You may exhale with peace knowing that our team is on hand to assist with any refrigeration issues you may be experiencing. We can eliminate any problem, including:
- Power problems;
- Cooling problems;
- Problems with the temperature;
- Your refrigerator is constantly running;
- Leaks;
- Sealant problems;
- and many more.
We can complete your Kenmore fridge repair within a day. Whether it’s for a straightforward maintenance procedure or a difficult repair job, we constantly seize the chance to exceed our clients’ expectations.
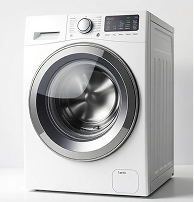
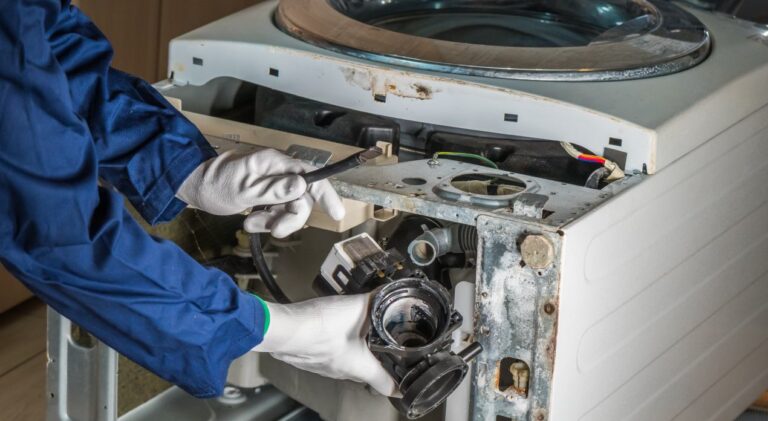
Do not give up too easily if your Kenmore washer has broken down or is not cleaning your clothing. For just any Kenmore washing machine repair you could require, we are your go-to company. Our experts, for instance, can address:
- Your washer is leaking;
- It fails to fill up with water;
- It doesn’t spin;
- It won’t drain;
- It makes odd noises;
- It omits unpleasant odors.
Contacting our team is much simpler for your pocket. We genuinely care about providing you with high-calibre services at reasonable costs.
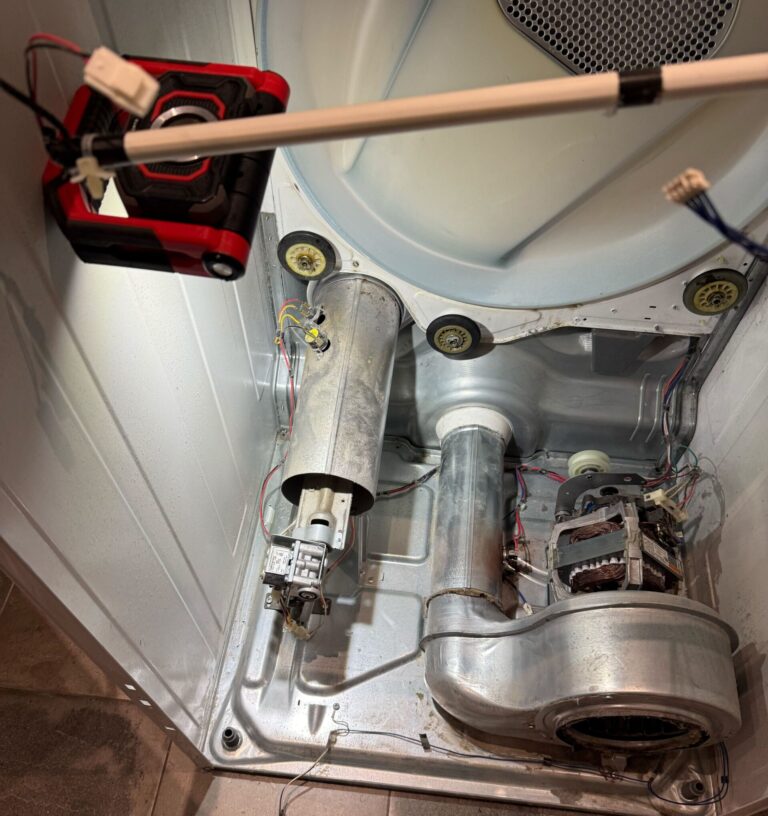
Laundry is now a task that requires a lot more time. Thankfully, you may arrange Kenmore dryer repair with one of our skilled and factory-trained specialists. They have the expertise, skills, and tools necessary to fix your broken dryer. All of the following problems may be resolved with the help of our team:
- Dryer doesn’t turn on or off;
- Clothes take too long to dry;
- Dryer works, but doesn’t get hot;
- Appliance is too noisy.
By arranging your repair with us, you can avoid inconvenient breaks, safety hazards, and high energy costs.
Is your device so inefficient that you have been forced to wash dishes by hand? We’ll provide you with the Kenmore dishwasher repair service you require to restore peak condition to your kitchen. We diagnose and fix a variety of problems, including:
- Dishwasher is leaking;
- Appliance will not drain;
- It has clogged;
- Ineffective cleaning;
- It doesn’t start;
- Unusual noises.
Each of our professionals represents our principles and beliefs in full, and they will enter your house with courtesy and a true desire to simplify your life. Call us right away to arrange your same-day service!
We provide same-day Kenmore oven and stove repair and have a high level of responsiveness. To make sure we address the issue at its root, we always begin with a comprehensive inspection of your damaged device.
Our professionals diagnose and resolve a range of issues, including:
- Oven not heating;
- Broken thermostat;
- Door problems;
- Oven overheating;
- Self-cleaning issues;
- Temperature regulation problems.
You don’t have to be concerned about unforeseen costs because we offer flat rate pricing and provide quotes before any repairs! Our 3-month part and labour warranty covers every appliance repair and service.
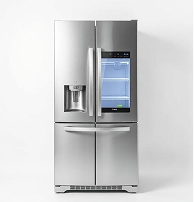
Kenmore fridge repair
Is your Kenmore fridge not cooling? Has it lost all function? You may exhale with peace knowing that our team is on hand to assist with any refrigeration issues you may be experiencing. We can eliminate any problem, including:
- Power problems;
- Cooling problems;
- Problems with the temperature;
- Your refrigerator is constantly running;
- Leaks;
- Sealant problems;
- and many more.
We can complete your Kenmore fridge repair within a day. Whether it’s for a straightforward maintenance procedure or a difficult repair job, we constantly seize the chance to exceed our clients’ expectations.
Kenmore washing machine repair
Do not give up too easily if your Kenmore washer has broken down or is not cleaning your clothing. For just any Kenmore washing machine repair you could require, we are your go-to company. Our experts, for instance, can address:
- Your washer is leaking;
- It fails to fill up with water;
- It doesn’t spin;
- It won’t drain;
- It makes odd noises;
- It omits unpleasant odors.
Contacting our team is much simpler for your pocket. We genuinely care about providing you with high-calibre services at reasonable costs.
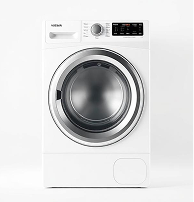
Kenmore dryer repair
Laundry is now a task that requires a lot more time. Thankfully, you may arrange Kenmore dryer repair with one of our skilled and factory-trained specialists. They have the expertise, skills, and tools necessary to fix your broken dryer. All of the following problems may be resolved with the help of our team:
- Dryer doesn’t turn on or off;
- Clothes take too long to dry;
- Dryer works, but doesn’t get hot;
- Appliance is too noisy.
By arranging your repair with us, you can avoid inconvenient breaks, safety hazards, and high energy costs.
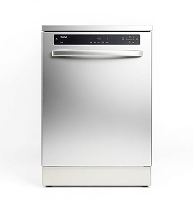
Kenmore dishwasher repair
Is your device so inefficient that you have been forced to wash dishes by hand? We’ll provide you with the Kenmore dishwasher repair service you require to restore peak condition to your kitchen. We diagnose and fix a variety of problems, including:
- Dishwasher is leaking;
- Appliance will not drain;
- It has clogged;
- Ineffective cleaning;
- It doesn’t start;
- Unusual noises.
Each of our professionals represents our principles and beliefs in full, and they will enter your house with courtesy and a true desire to simplify your life. Call us right away to arrange your same-day service!
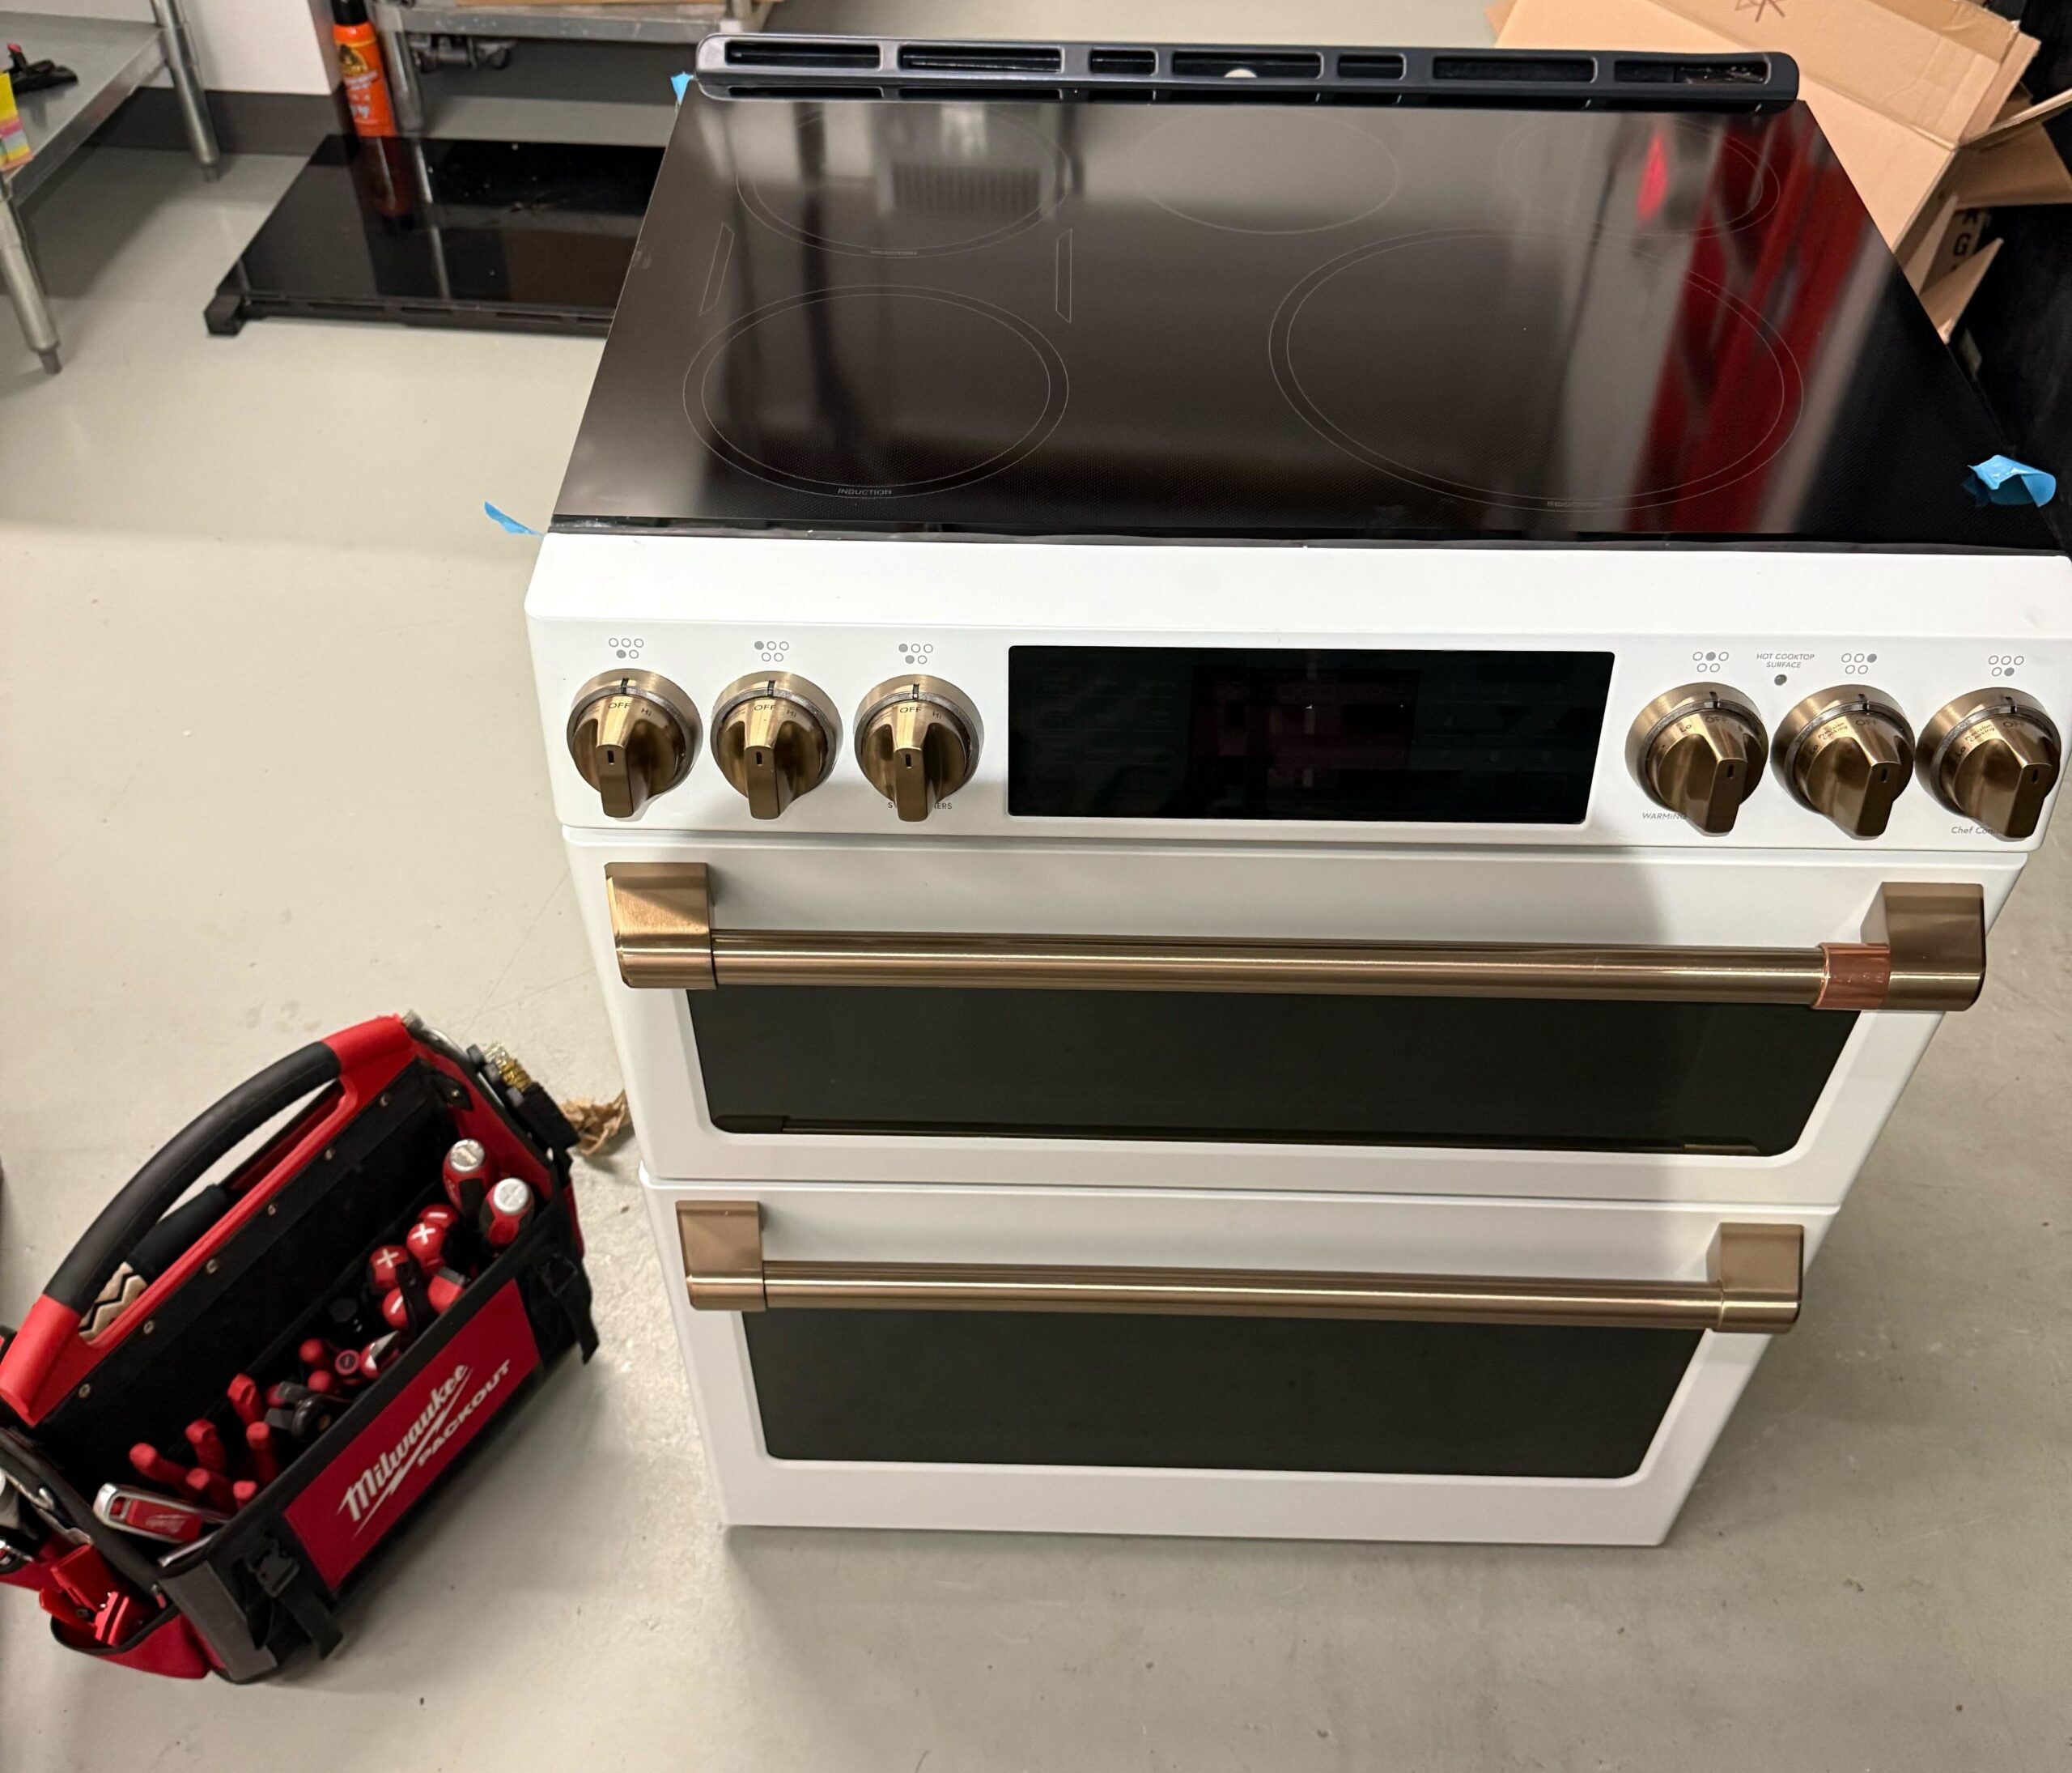
Kenmore stove & oven repair
We provide same-day Kenmore oven and stove repair and have a high level of responsiveness. To make sure we address the issue at its root, we always begin with a comprehensive inspection of your damaged device.
Our professionals diagnose and resolve a range of issues, including:
- Oven not heating;
- Broken thermostat;
- Door problems;
- Oven overheating;
- Self-cleaning issues;
- Temperature regulation problems.
You don’t have to be concerned about unforeseen costs because we offer flat rate pricing and provide quotes before any repairs! Our 3-month part and labour warranty covers every appliance repair and service.
Kenmore Appliance Error Codes
Resolve error codes more quickly with detailed explanations tailored to various appliance types
Error codes
Error codes
Error codes
Error codes
Save Big Today!
Claim your discount today on Kenmore appliance repair and get expert service for much less. Why wait? Book your visit now!
This Is How We Repair Your Broken Appliance
We keep things simple — from your first call to final testing, your appliance is back in working order the very same day.
Book Your Service
Reach out online or give us a call—whichever works for you. Tell us what’s happening with your appliance, and we’ll send an expert promptly.
On-Site Inspection
The technician takes a close look at the problem and walks you through your options. You’ll get a clear, upfront quote before we begin.
Professional Repair
Once you approve, we get to work using reliable parts and time-tested techniques. We make sure the job is done right the first time.
Ongoing Support
Every repair is backed by our warranty, and our team is ready to answer all your questions. Our ultimate goal is your satisfaction!
Why choose our team to fix your Kenmore appliances?
From repairs to maintenance, we’ve got you covered
REPAIR YOUR APPLIANCE TODAY!
We can repair your equipment of almost any type and brand
Interesting Facts About Us
Years of hands-on experience, combined with advanced tools, allow us to handle repairs of any complexity.
Positive Reviews on
Years in the industry
Experienced technicians
Kenmore repair service in your area
Some Areas We Serve
Don’t see your city? Contact Us to check availability
What customers say